Essential Studio Foam for Superior Sound
02/09/2024
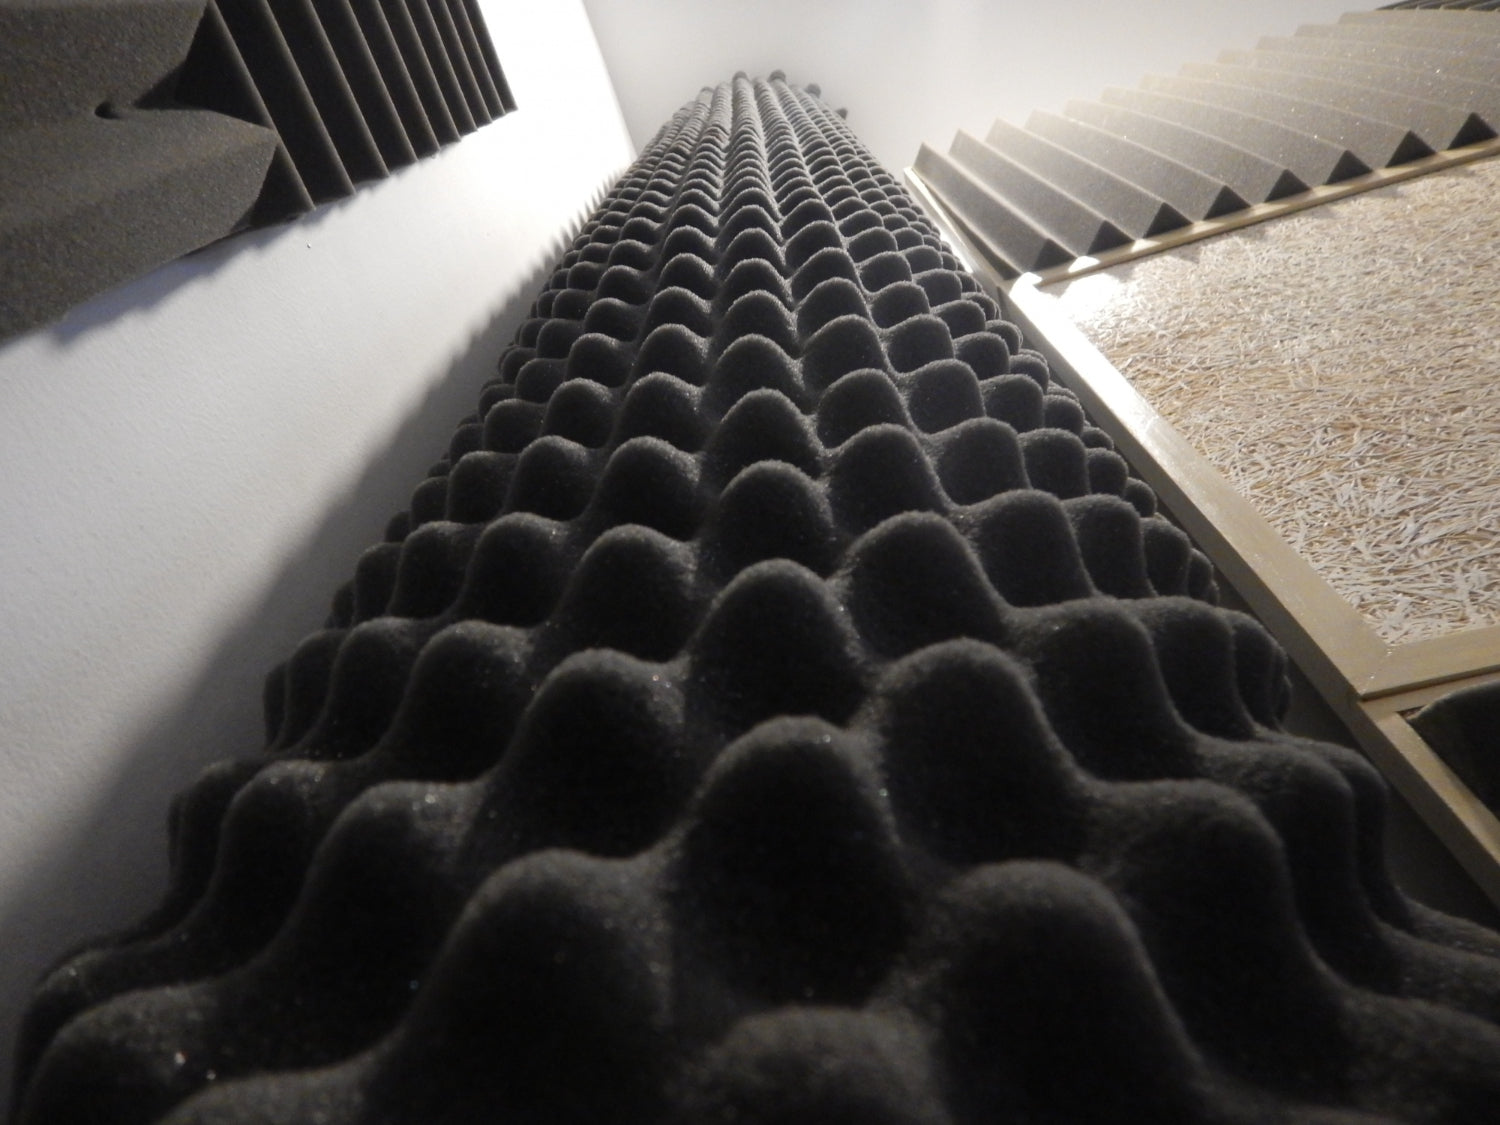
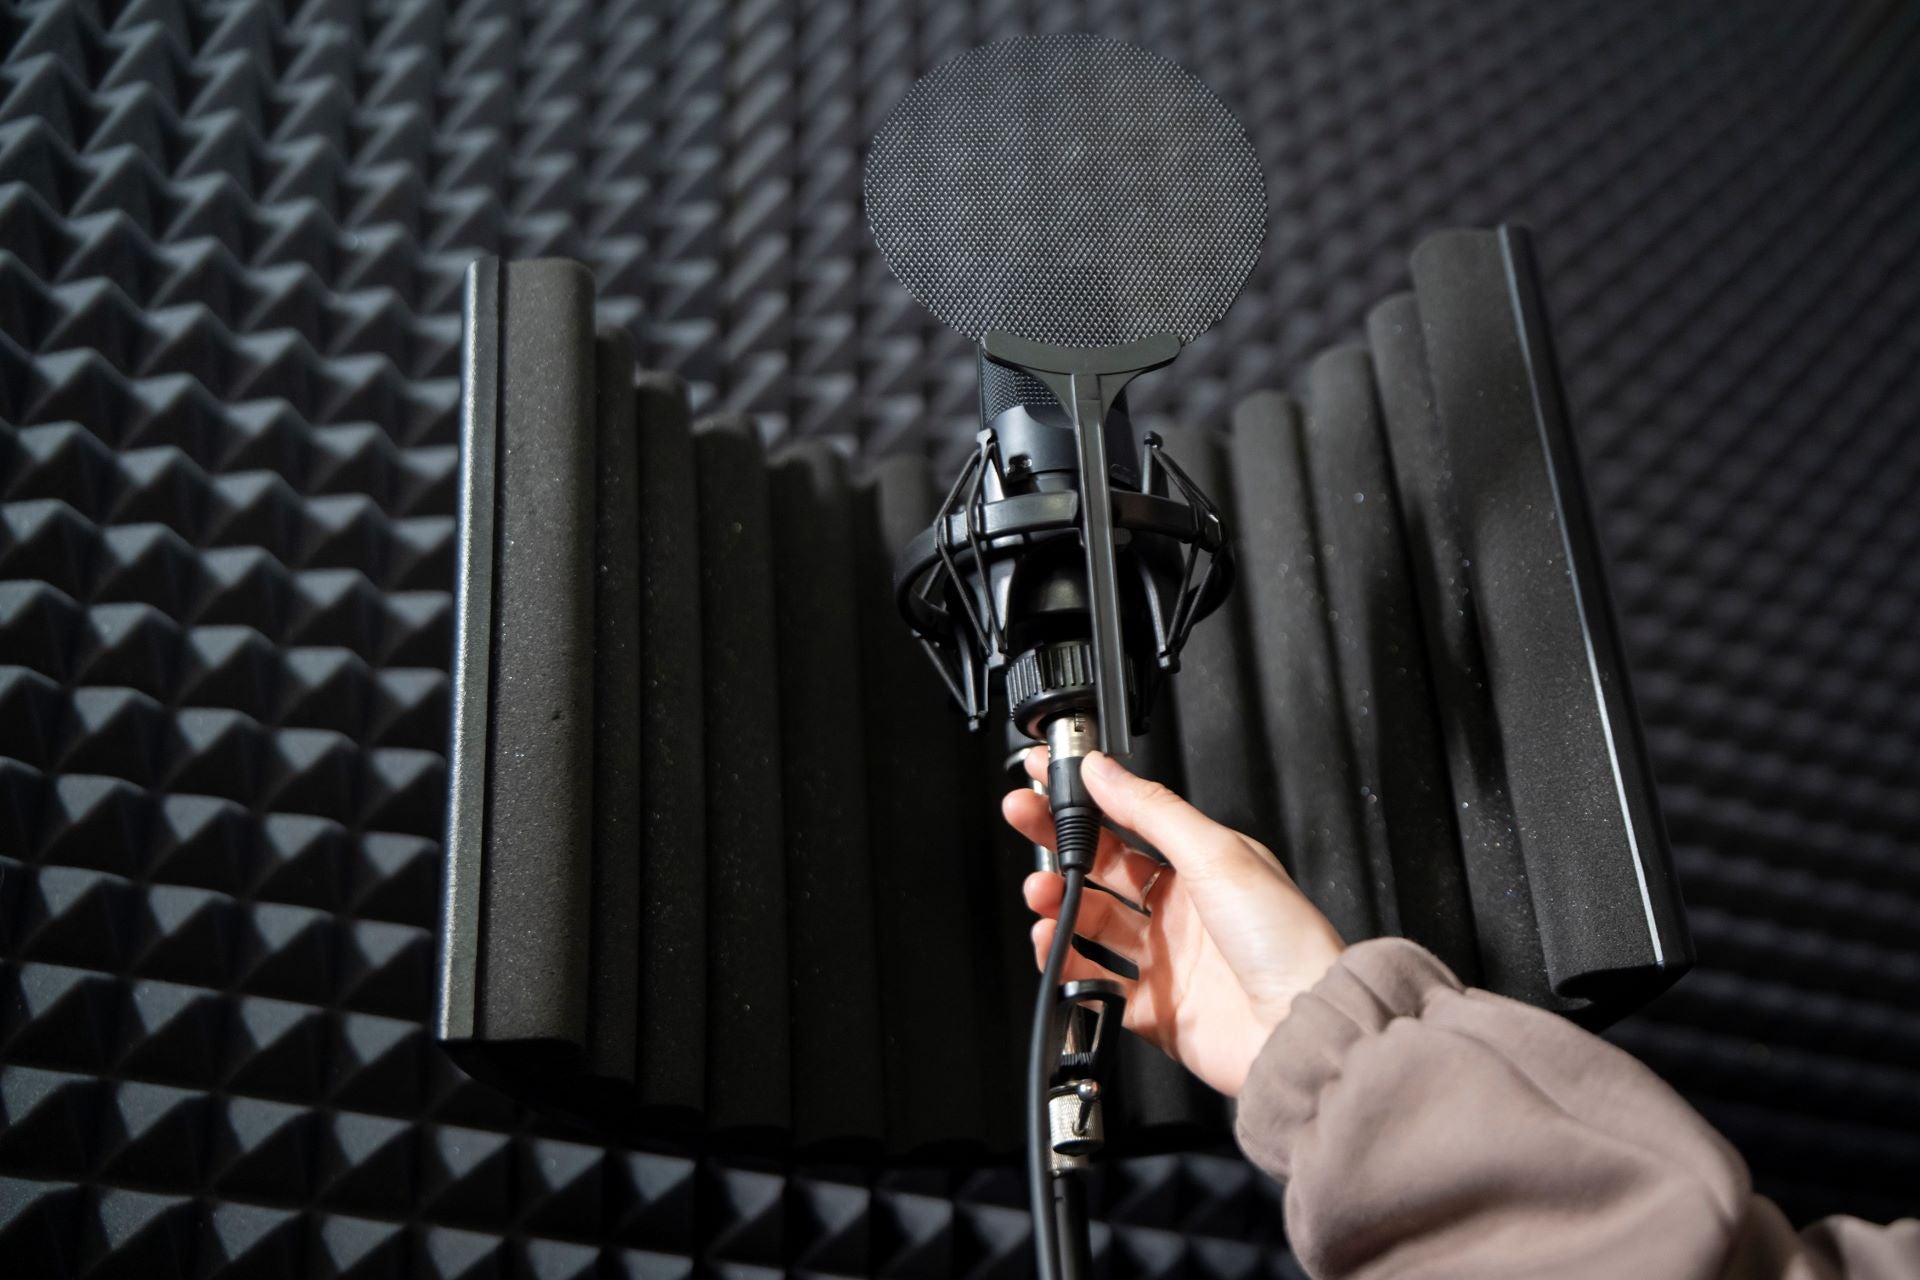
Studio foam is crafted to absorb sound waves, managing echoes and reverberation. This helps you hear the true sound of your recordings without interference. Whether you're a budding musician or a seasoned producer, investing in quality studio foam can elevate your audio projects.
In this article, we will explore why studio acoustics are crucial, the several kinds of must-have studio foam, and how to choose the right foam for your studio. We'll as well cover installation and maintenance tips to ensure your studio foam lasts. Get ready to transform your studio into the perfect acoustic space!
Why Studio Acoustics Matter
Impact on Recording Quality
Good studio acoustics are essential for well-made recordings. Poor acoustics can make your music sound blurry and imprecise. Uncontrolled acoustic waves bounce around the room, causing echoes and reverberation. This muddling effect can mask significant details in your recordings, making instruments and vocals less clear.
When your studio is acoustically treated, sounds become crisper and more isolated. You can hear each instrument and vocal part distinctly, helping you make better mixing decisions. With proper studio foam, unwanted noise is absorbed, giving you a cleaner and more professional sound. This helps you capture recordings that truly reflect your artistic intent.
Common Acoustic Issues in Studios
Many studios face common acoustic problems. These include echoes, standing waves, and flutter echoes. These problems can distort your recordings and make it difficult to mix tracks accurately. For example, echoes occur when sound reflects off walls and surfaces, creating a delayed repetition of the original sound. Standing waves form when acoustic waves of certain frequencies bounce between parallel surfaces, amplifying those frequencies and causing uneven sound distribution.
Flutter echoes happen when sound bounces rapidly between two hard surfaces, creating a fluttering sound effect. These problems can make your studio sound noisy and unprofessional. By addressing these problems with the right studio foam, you can create a controlled environment that enhances your recordings.
Types of Must-Have Studio Foam
Acoustic Panels
Acoustic panels are essential for absorbing mid to high-frequency sounds. They come in various shapes and sizes, generally mounted on walls and ceilings. These panels help control reflections and reduce echoes, making your recordings clearer. You can use them in different areas of your studio to target problematic reflected sound successfully.
Bass Traps
Bass traps are designed to absorb low-frequency sounds, which is not always straightforward to control. These are normally placed in corners where bass build-up is most common. By absorbing low-frequency energy, bass traps help prevent muddy recordings, offering a cleaner low-end. This makes a significant difference in the overall sound quality of your mixes and recordings.
Diffusers
Diffusers scatter acoustic waves instead of absorbing them. This scattering effect helps to reduce standing waves and flutter echoes, creating a more balanced sound environment. Diffusers are commonly chosen in combination with sound-absorbing panels and bass traps to achieve a comprehensive room acoustic treatment. They are perfect for controlling sound reflections without making the room sound too dead.
By understanding the several kinds of studio foam and their specific functions, you can create an successful room acoustic treatment plan tailored to your needs.
Choosing the Right Foam for Your Studio
Consider Room Size and Shape
Selecting the right foam begins with evaluating your room's size and shape. Larger rooms may require more foam panels and bass traps to effectively manage reflected sound. Irregularly shaped rooms frequently need a more customised approach, as corners and angles can cause unique acoustical challenges.
Smaller rooms, while easier to treat, still require careful placement of foam to avoid over-treatment, which can make the room sound too dead. By measuring your room and noting its acoustical characteristics, you can determine the quantity and types of foam that will best suit your needs.
Foam Density and Thickness
Different foam densities and thicknesses cater to various sound frequencies. Thicker and denser foams absorb lower frequencies, making them ideal as bass traps. Thinner panels work better for mid to high frequencies, useful for general acoustic absorption on ceilings and walls.
Choosing the correct density and thickness enhances the effectiveness of your room acoustic treatment. A balanced mix not only ensures a good overall sound but also addresses specific challenge areas, offering a smoother listening and recording experience.
Placement Tips for Best Results
Placement is crucial for optimising studio acoustics. Here are some tips to get the best results:
1. Corners: Place bass traps in the corners where low frequencies tend to build up.
2. Listening Position: Install sound-absorbing panels at the first reflection points on the walls next to where you sit and work.
3. Ceilings: Use ceiling clouds or panels to catch sound waves that bounce off the ceiling.
4. Behind Monitors: Position diffusers or panels behind your monitors to reduce reflections that can interfere with your listening accuracy.
Strategic placement maximises the foam's effectiveness, helping you achieve the desired acoustical balance.
Installation and Maintenance of Studio Foam
Step-by-Step Installation Guide
Installing studio foam is straightforward when you follow these steps:
1. Prepare the Surface: Clean the walls and ceilings where you will install the foam to ensure they are free of dust and debris.
2. Plan Layout: Lay out the foam pieces to see how they fit best in your room.
3. Apply Adhesive: Use a strong adhesive spray or double-sided tape on the back of the foam.
4. Position Carefully: Place the foam pieces on the marked spots, pressing firmly to ensure they stick.
5. Check Alignment: Make sure all pieces align properly to avoid gaps and ensure even coverage.
Maintenance Tips for Longevity
Proper maintenance keeps studio foam successful for longer. Here are some tips:
- Regular Cleaning: Dust the foam with a soft brush or vacuum cleaner attachment to keep it clean.
- Inspect for Damage: Check periodically for any tears or loose pieces and repair them promptly.
- Avoid Moisture: Keep foam away from damp areas to prevent deterioration.
Troubleshooting Common Problems
Even with the best setup, issues can arise. Here's how to address common problems:
- Loose Panels: Reapply adhesive or use stronger mounting options for panels that fall.
- Uneven Sound: Reassess foam placement; you may need to add more panels or reposition existing ones.
- Wear and Tear: Replace old or damaged foam to maintain sound quality.
Conclusion
Enhancing your studio acoustics with quality studio foam is a smart investment for any recording enthusiast. Understanding the types of foam, choosing the right products based on your room, and learning how to install and maintain them can dramatically improve your recording environment. Well-placed studio foam absorbs unwanted reflections, balances frequencies, and provides a clearer, cleaner sound.
Ready to elevate your studio's sound quality? Contact Advanced Acoustics to explore our range of well-made acoustic foam products. Transform your studio into the perfect recording space today!
Previous: Identifying and Fixing Acoustic Panel Installation Mistakes
Visit the Advanced Acoustics Ltd website for more information on Essential Studio Foam for Superior Sound
ENQUIRY FORM